These 6 ©AOZ Studio™ Basic Lessons were kindly provided to me by the AOZ team for deployment on RayShell Computer Department.
Have fun with RayShell and AOZ Studio™ and share your experience with your friends.
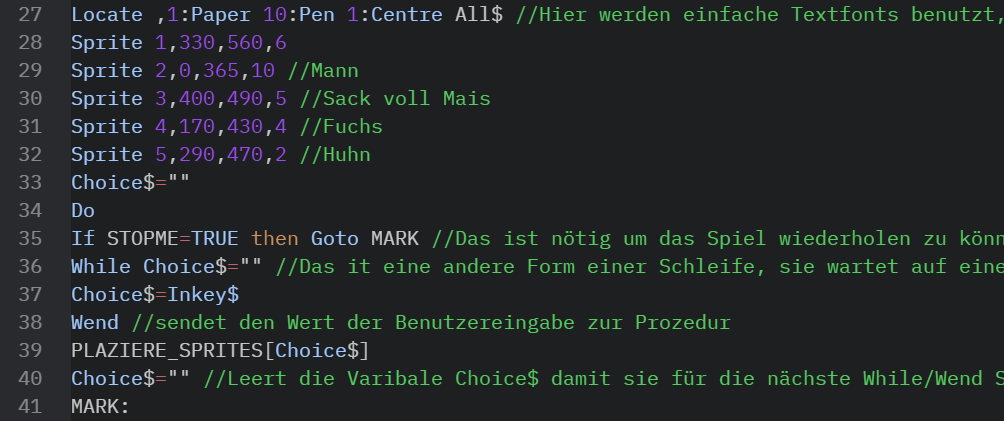
Note from RayShell: Program notes and explanations are entered after a double slash //, Rem or ‘ and will appear green in the editor. Anything after a // will not be executed by AOZ Studio™ and is for overview purposes only. It is always a good idea to annotate your own program to keep track of it when editing later.
Only all the text in the black code boxes in these lessons here is AOZ code, click in the upper right corner on copy to copy the code to the clipboard. Go to the AOZ Studio™ Editor and paste the code inside your program or type the code yourself.
But most important is to create your own programs with the AOZ Studio™ commands learned here in the 6 lessons. Change the values, add your own text and images and play around freely.
If you have entered an AOZ Studio™ command incorrectly, the program will stop and a syntax error will be displayed at the bottom of the editor with the line number. Then correct the error in this line and restart the program.
In the editor, you can see from the text colors whether the command was entered correctly or incorrectly. For better learning I recommend to type the commands presented here into the editor by yourself so that the way of programming with AOZ becomes really memorized. If you want to make your own apps and games you have to do it.
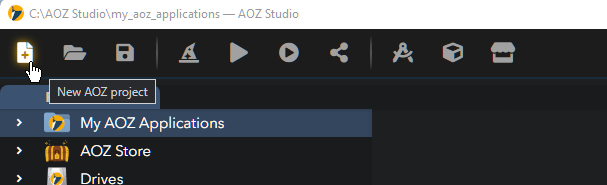
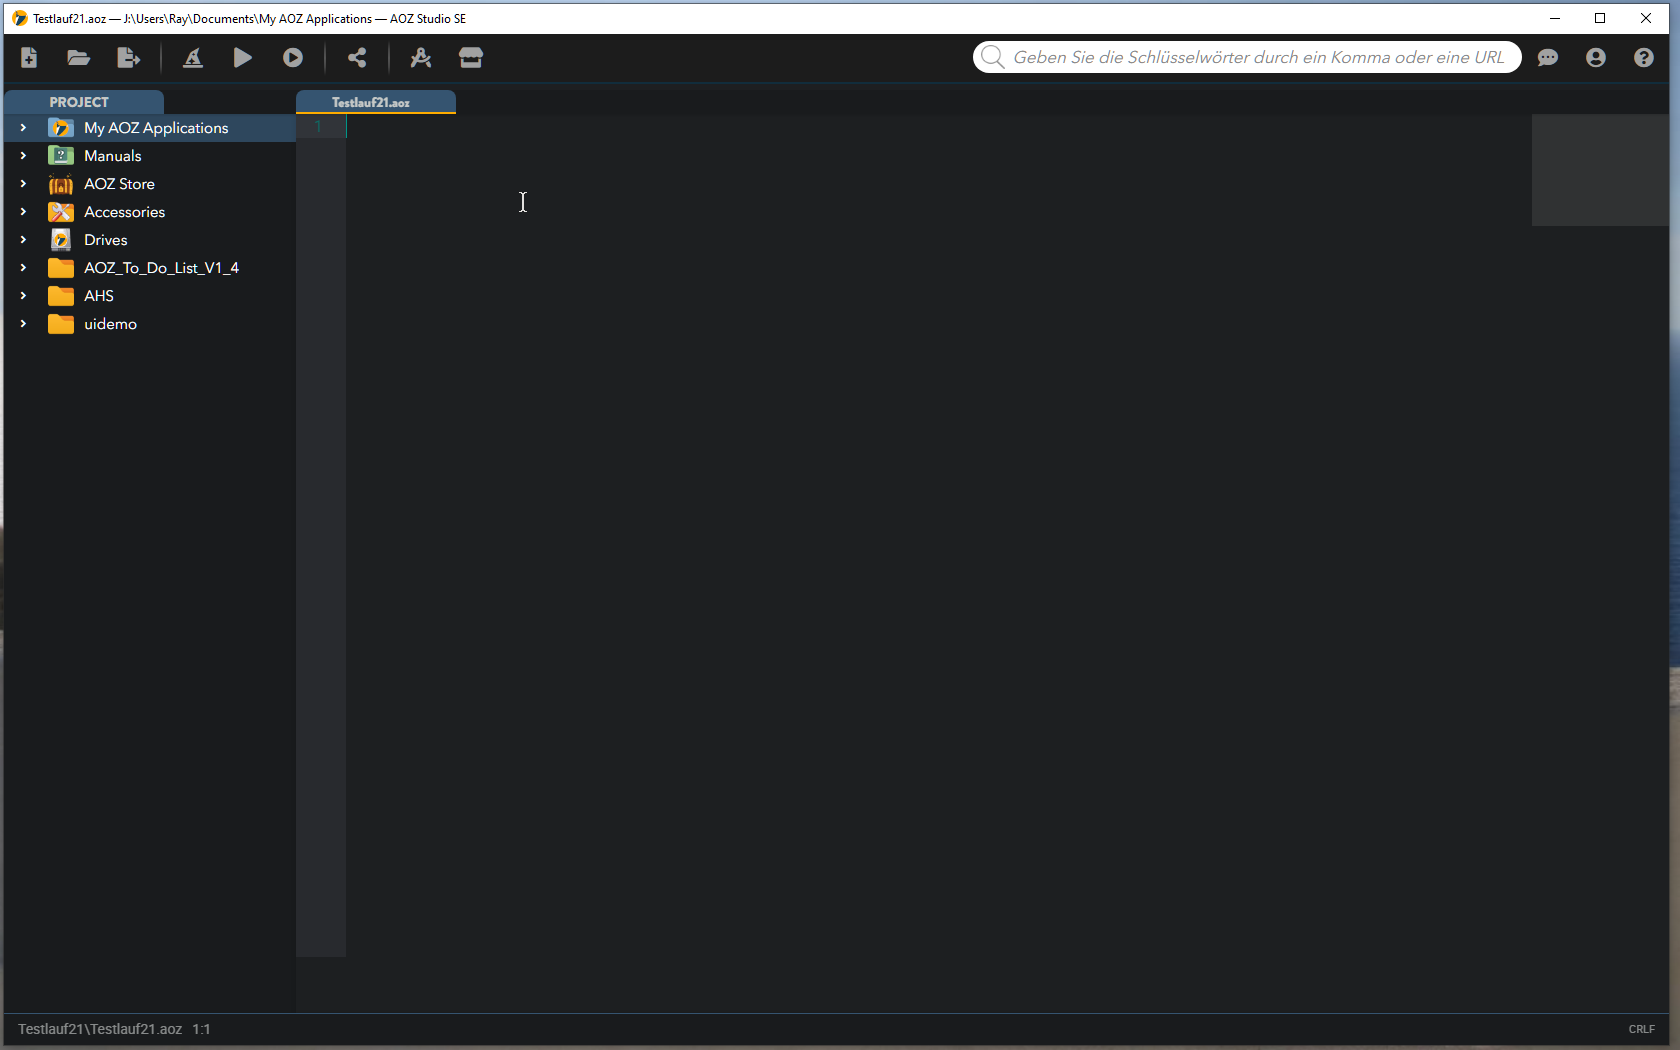
In the editor, click on the paper icon on the far left to create your first project. A selection window opens:
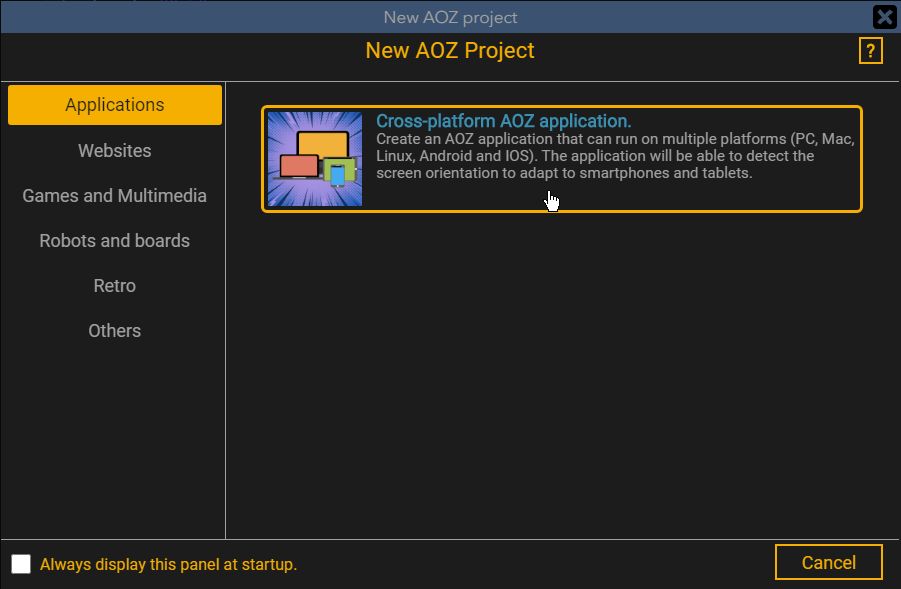
Click on Cross-platform AOZ application to create a new project.
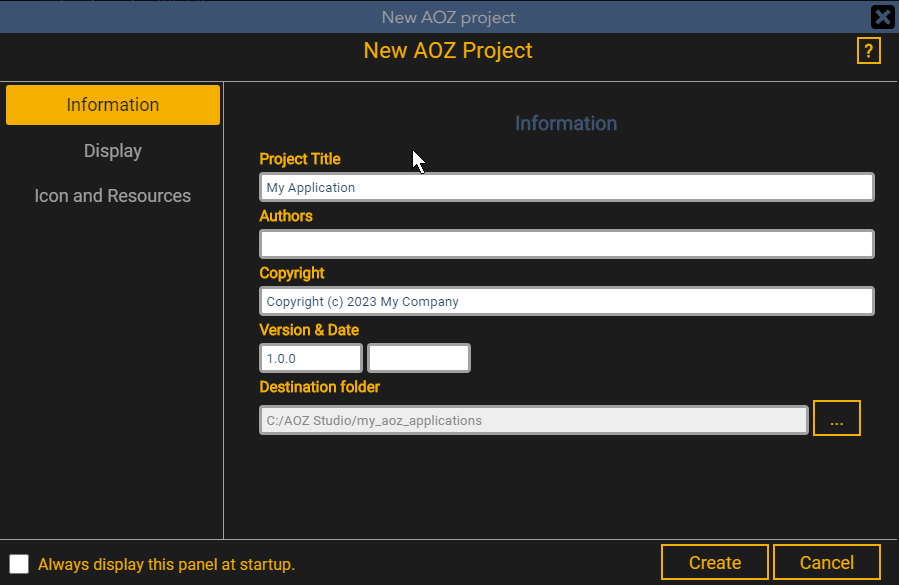
In the Project Title field, delete the >My Application< entry and enter a name of your choice. Fill the other fields as you like.
Then click Create at the bottom right.
In the editor window you can now enter the AOZ commands to create an AOZ app.
So we are ready, let’s start!
The Print command——————————————
					Print "Hello"
End
**Click on the “Build and Run” button in the middle, it looks like a PLAY button or push F1 to run it inside your IDE.
Wait about 10 seconds for the compilation to occur, this is the process to transform your program made of AOZ Instructions (easy to understand for humans) into executable instructions (that your computer may understand and Run)
You should have seen the Hello word in your automatically opened web browser.
So… yes, you are a programmer!
All right, now take it a step further. Try your own words or “string” between the two text marks ” ” and replace hello.
Click Run in Browser (F1) or Run in AOZ Viewer (F2) to see the result.
Now let’s continue the lesson. First delete the End instruction above, so the following instructions will be executed as well:
The Locate Command——————————————
Locate tells the program where to Print the string on the screen.
					Locate 5.1
Print "You"
End
The number after the “Locate” command tells the computer the number of text blocks down or to the right, In this case 5 counted to the right and 1 counted down from the top left.
**Click on the “Build and Run” button in the middle, it looks like a PLAY button or push F1 to run it inside your IDE
**Now, delete the End instruction above, so the following instructions will be executed as well:
The Input command——————————————
Input enables the retrieval of information to use it in the program
					Input "What is your name?";name$
Print name$
Input "How old are you?";age
Print "Your age is: ";age
End
The first “input” asks for a name and that is called a string so the string variable name$ is used in this example (we could have called it MyName$ or bunny$ or…) The important thing is to use a word that you as a programmer understand what is meant. The second “input” asks for a number and this number is stored in the variable “age”.
Notice how the semi-colon, (;) allows us to combine the printed “Your age is: ” to the variable stored in age
**Click on the “Build and Run” button in the middle, it looks like a PLAY button or push F1 to run it inside your IDE
**Now, delete the End instruction above, so the following instructions will be executed as well:
The Pen Command and the For-to-next Command———————
The Pen command sets the color of the text.
The For-to-next command is a combined command to program automatically repeating loops.
					For n = 1 to 20
Pen n
Locate 40,n
Print name$ + " is Super!"
Wait 0.5
Next
End
This program code here will run through several colors in the text and the variable n will be incremented step by step from 1 to 20.
The first time the for-to-next loop passes through is n=1 and the following is executed.
The Pen 1 command which now sets the text color to white – the Locate command to 40 (to the right) and 1 (down) – then comes the Print command and the loop goes back to the For n=1 to 20 line while the contents of n increase by 1. So with n=2 Pen 2 and Locate 40,2 will result in the next Print command being printed one line below. This is repeated until n=20, then the loop is terminated and the next command after “Next” is executed.
If you haven’t figured it all out yet, don’t worry. You can also program a simple loop e.g.: For n=1 to 5 :Print n:Next
Colons can be used to program AOZ commands one after the other.
With the “Wait” command a program can be paused so that the output can be followed, in this case 0.2 seconds.
Step by step, no problem if it’s not all so clear right away. Have fun and change the values and texts as you like.
OK lot of explanations, so now let see what it does.
**Click on the “Run in Browser” button or F1 to start the program in the browser or on “Run in AOZ Viewer” (F2) to start it in the editor.
Great, congratulations! That’s the end of Lesson 1. You’re ready to start with Lesson 2 now 🙂
Updated 23.07.2023
Tested with AOZ Studio™ version 1.0 Update 44 on 23.07.2023